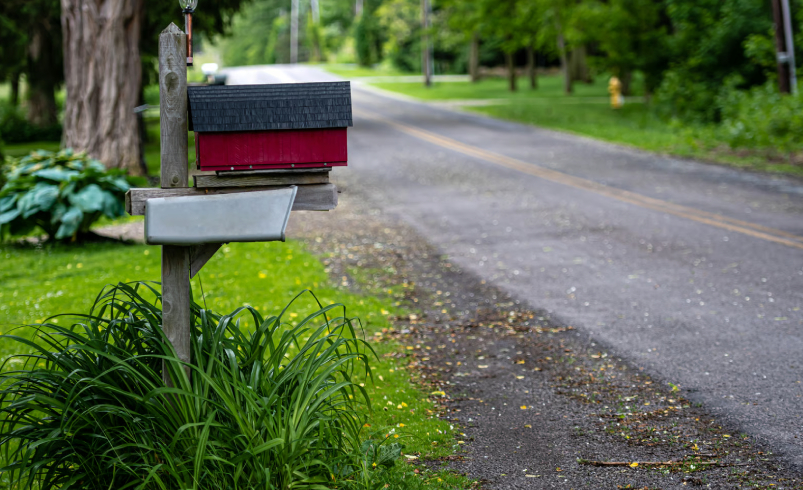
nstalling a residential mailbox might seem like a simple task, but in reality, it requires proper planning, correct placement, and secure installation techniques to ensure long-term durability and safety. In areas like the Chicago Land region, where weather conditions can be harsh and mail theft is a concern, proper mailbox installation becomes even more important.
A well-installed mailbox not only improves security but also ensures smooth mail delivery, compliance with postal guidelines, and better convenience for homeowners.
This guide provides a complete residential mailbox installation process, covering preparation, tools, installation methods, and best practices for homeowners.
Why Proper Mailbox Installation Matters
Many homeowners underestimate the importance of correct mailbox installation. However, poor installation can lead to multiple issues.
1. Security Risks
A weak installation makes it easier for thieves to steal mail or damage the mailbox.
2. Weather Damage
Improper mounting can cause instability during storms, snow, or strong winds.
3. Delivery Issues
Incorrect height or placement can result in missed or delayed mail delivery.
4. Shorter Lifespan
Poor installation reduces the durability of even high-quality mailboxes.
Types of Residential Mailbox Installation
Before installing a mailbox, it is important to choose the right installation type based on your home layout and needs.
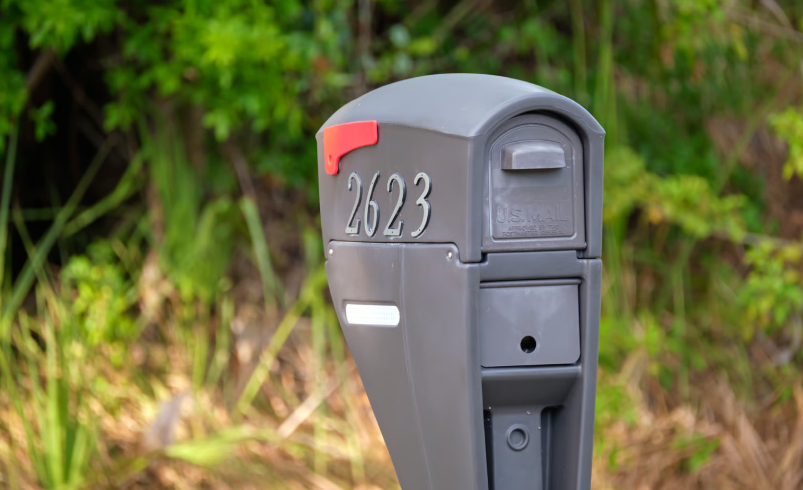
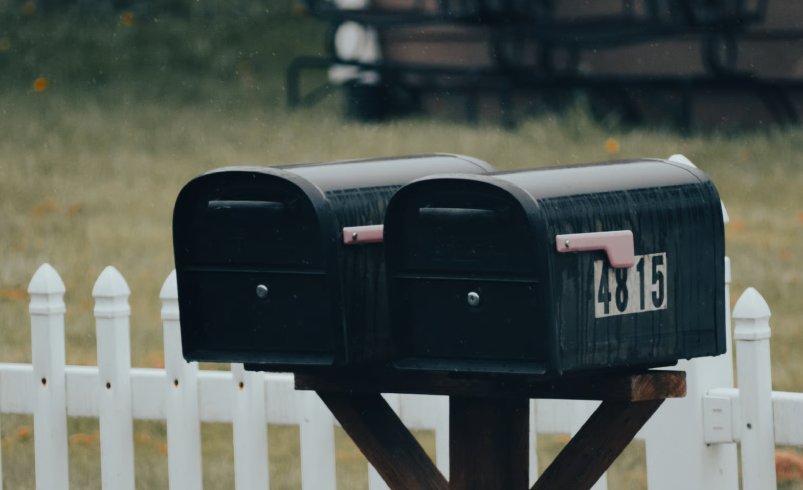
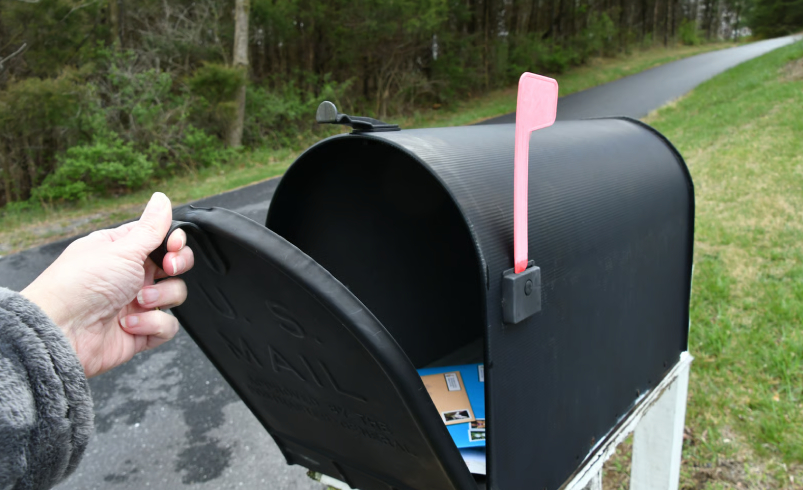
1. Curbside Mailbox Installation
This is the most common type in suburban areas.
Features:
- Installed near the road or driveway
- Mounted on a post or stand
- Easy access for postal carriers
Best for homes with front-yard space.
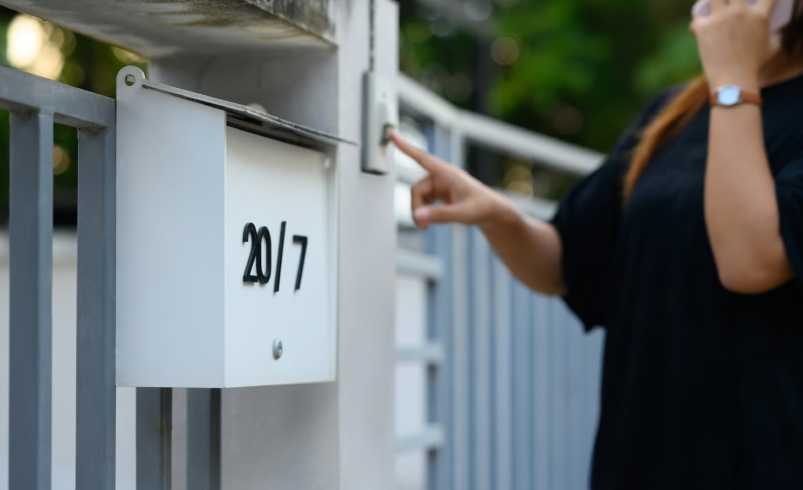
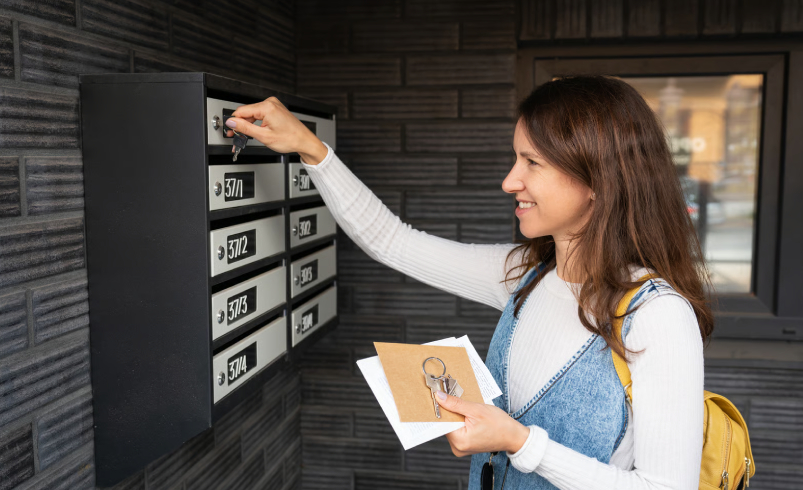
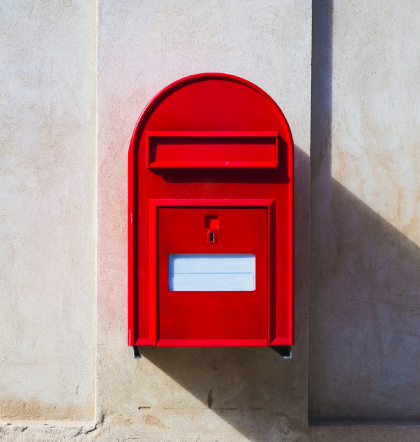
2. Wall-Mounted Mailbox Installation
This type is attached directly to the house exterior.
Features:
- Installed near the front door or gate
- Space-saving design
- Easy mail access
Best for urban homes and apartments.
3. Post-Mounted Secure Installation
This is a reinforced version of curbside installation.
Features:
- Heavy-duty post support
- Concrete base anchoring
- Higher security level
Best for areas with higher theft risk.
Tools Required for Installation
Before starting the installation process, gather the necessary tools.
You will need:
- Drill machine
- Screws and anchors
- Measuring tape
- Level tool
- Shovel (for curbside installation)
- Concrete mix (for post installation)
- Screwdriver set
- Protective gloves
Step-by-Step Residential Mailbox Installation Guide
Step 1: Choose the Right Location
Location is the most important factor in mailbox installation.
Consider:
- Easy access for mail carriers
- Visibility from the road
- Distance from obstacles
- Local postal regulations
A poorly chosen location can cause delivery issues.
Step 2: Measure Proper Height
Proper height ensures easy mail delivery.
Standard guideline:
- Mailbox opening should be approximately 41–45 inches from the ground
- It should be 6–8 inches back from the curb
Always check local postal requirements before installation.
Step 3: Prepare the Installation Area
For curbside or post-mounted mailboxes:
- Dig a hole (around 18–24 inches deep)
- Clear debris and level the ground
- Prepare concrete mix if needed
For wall-mounted mailboxes:
- Mark drilling points on the wall
- Ensure alignment using a level tool
Step 4: Install the Post or Mount
For curbside installation:
- Place the post in the hole
- Pour concrete for stability
- Let it set for 24–48 hours
For wall-mounted systems:
- Drill holes carefully
- Insert anchors
- Secure mailbox with screws
Step 5: Attach the Mailbox
Once the base is ready:
- Secure the mailbox firmly
- Double-check alignment
- Tighten all screws and fittings
Ensure the mailbox is stable and does not move.
Step 6: Test the Installation
After installation:
- Open and close the mailbox
- Check lock functionality (if applicable)
- Ensure stability under pressure
- Confirm proper height and alignment
DIY vs Professional Installation
Homeowners often debate whether to install mailboxes themselves or hire professionals.
DIY Installation
Pros:
- Cost-effective
- Flexible timing
- Simple for basic mailboxes
Cons:
- Risk of incorrect installation
- Lack of proper tools
- Lower durability if done incorrectly
Professional Installation
Pros:
- Expert precision
- Strong and secure setup
- Compliance with postal standards
- Long-term durability
Cons:
- Higher cost
- Scheduling required
For high-security or heavy-duty mailboxes, professional installation is strongly recommended.
Common Installation Mistakes to Avoid
Many homeowners make simple mistakes that affect mailbox performance.
Avoid:
- Installing at incorrect height
- Weak or shallow post foundation
- Poor alignment with road access
- Using low-quality screws or anchors
- Ignoring weather protection needs
Maintenance Tips After Installation
Once installed, proper maintenance ensures long-lasting performance.
1. Regular Cleaning
Remove dust, dirt, and snow buildup.
2. Check Stability
Ensure post or wall mounts remain secure.
3. Inspect Locks
If your mailbox has a lock, check it periodically for smooth operation.
4. Rust Prevention
Apply protective coatings if needed.
Benefits of Proper Mailbox Installation
A correctly installed mailbox provides multiple advantages:
- Enhanced mail security
- Better delivery efficiency
- Longer lifespan of mailbox system
- Improved home appearance
- Reduced maintenance issues
Future Trends in Mailbox Installation
Mailbox installation is also evolving with technology.
Future improvements include:
- Smart mounting systems with sensors
- Anti-theft reinforced foundations
- Automated delivery detection systems
- Modular mailbox designs for easy upgrades
These innovations are making residential mail systems more secure and intelligent.
Conclusion
Residential mailbox installation is more than just placing a box outside your home—it is about security, functionality, and compliance. A properly installed mailbox ensures safe delivery, protects your mail from theft, and withstands harsh weather conditions.
Whether you choose DIY installation or professional services, following the correct process is essential for long-term reliability and peace of mind.